Efficient caching is critical to faster page delivery and good website ranking by all search engines. Though many modern CMSs have built in caching (Drupal or WordPress), it is vital to provide a server-level and network-level caching to improve page delivery further.
For WordPress specific configuration, check down the page
Efficient caching with Nginx
RedyHost’s cPanel server provide capability to the following caching method:
- Nginx static files cache
- Nginx Gzip and Brotli compression
- Nginx mod_pagespeed to optimise page and asset files size for desktop and mobile devices
- Nginx microcache
- Nginx cache of your entire website
- SSL termination and HTTP/2
How to configure efficient caching of your website
- Login to cPanel from your client area
- Navigate to the Nginx control pane at the bottom of cPanel page

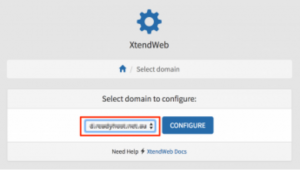
- Select your domain that you intend to manage
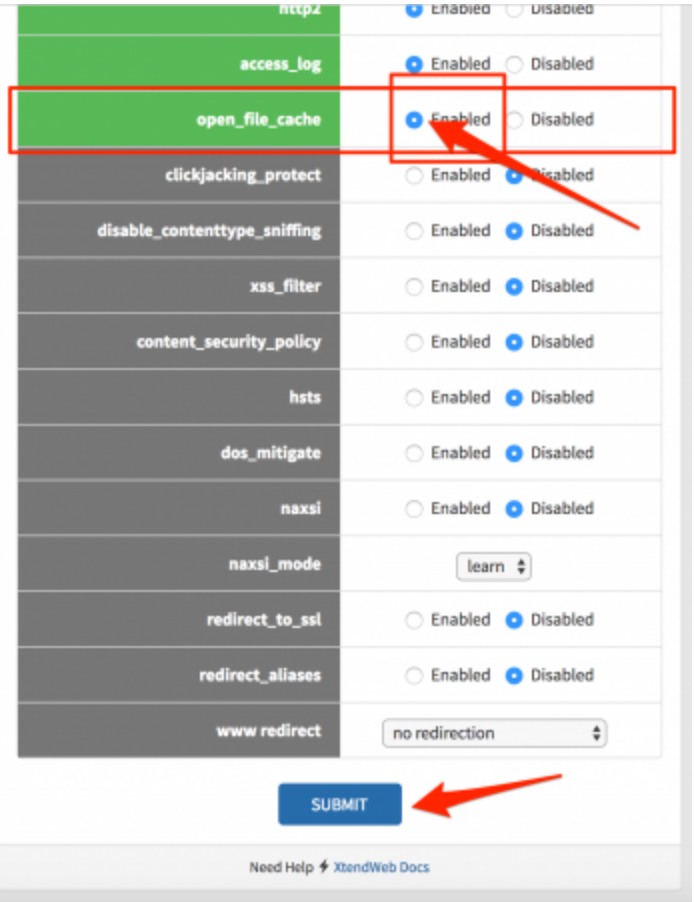
- Click the Server Settings button

- Enable static files cache and Submit your changes
How to enable Nginx Microcache in cPanel
Just follow the steps 1 and 2 above, then:
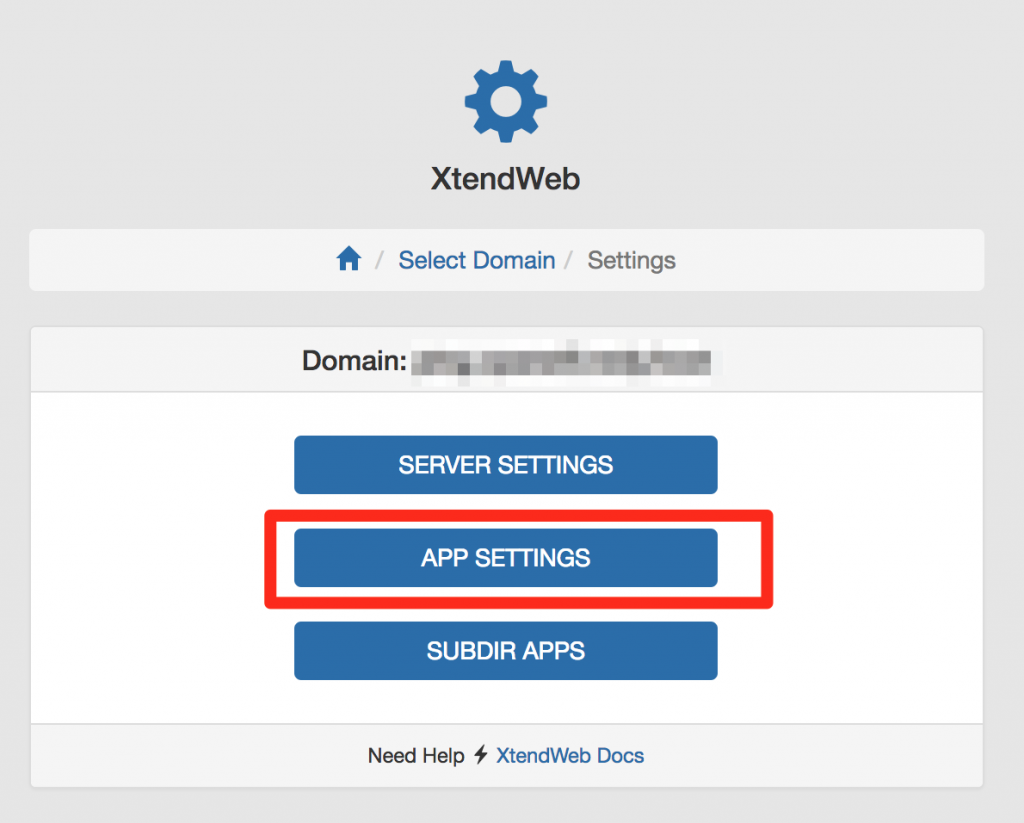
- Click Application Settings button
- Ensure Proxy mode is selected
In this mode Nginx proxies requests to Apache and provides microcache or cache layer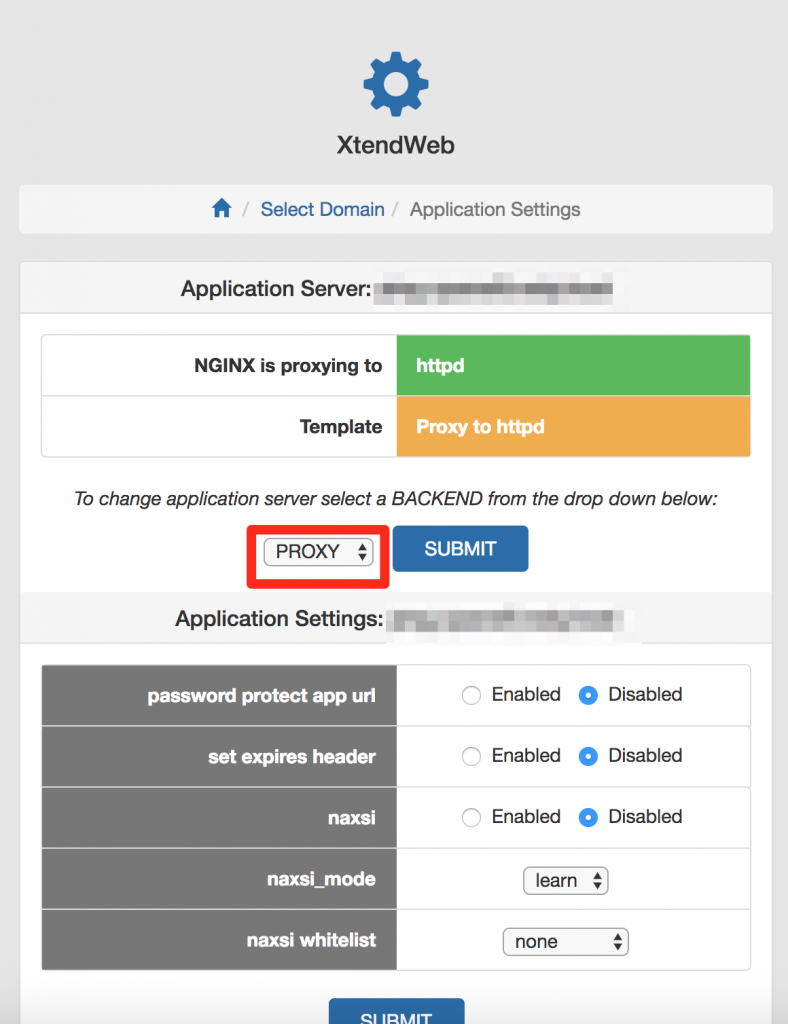
- Activate microcache or cached mode in Nginx
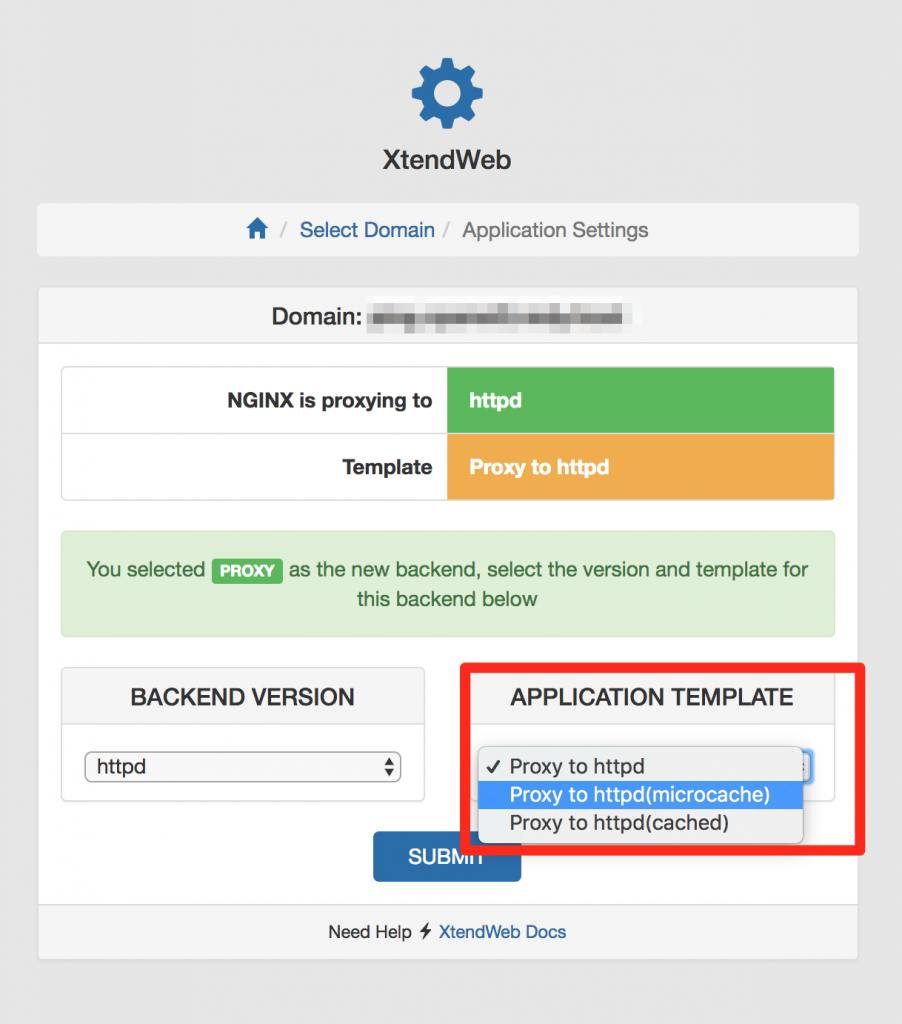
- Submit the page. Your cache is now activated.
Efficient WordPress caching with Nginx (with expiration)
This efficient WordPress caching with Nginx aims to provide ability to seamlessly flush expired or updated pages or posts in a WordPress site.
- Deactivate any existing caching plugins (login to WordPress admin)
- Install and activate the Nginx Helpers plugin via WordPress admin backend.
- Make sure that you select PHP in the Step 2 above and click Submit
- Select the right PHP version, for example 7.0
-
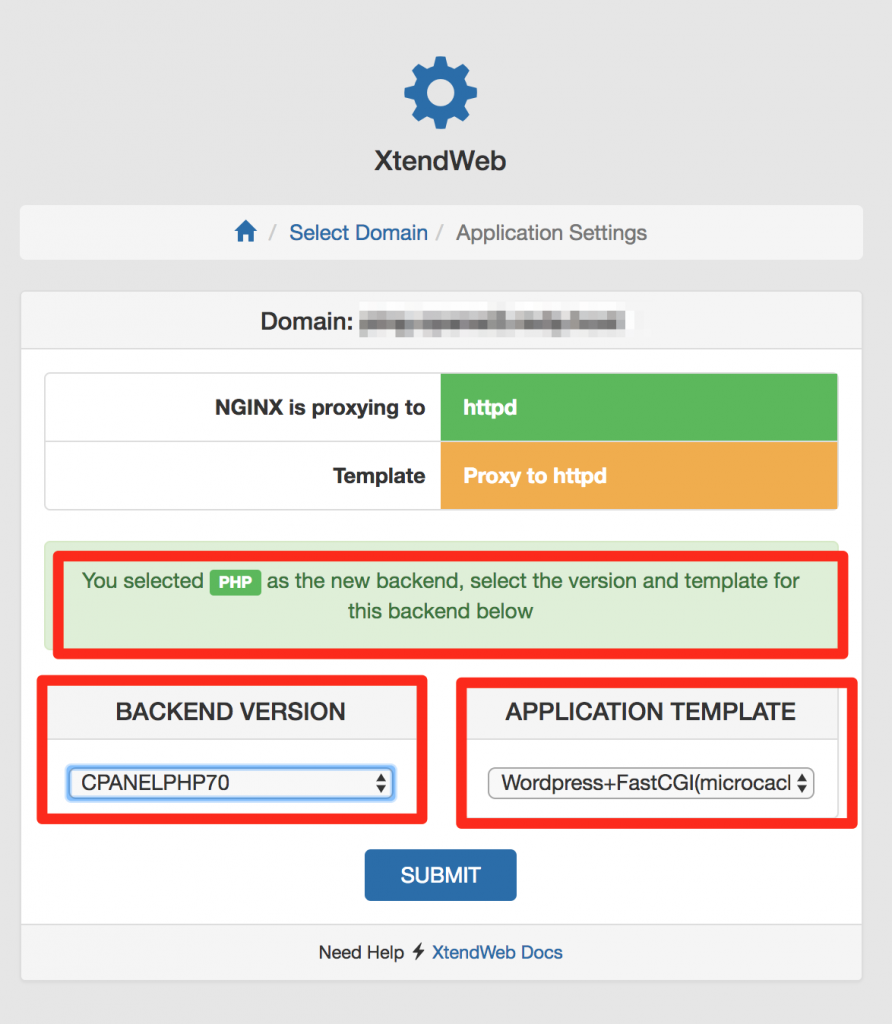
- Select In the Nginx configuraiton page WordPress+FactCGI(Microcached) template
- Submit your changes, they take effect immediately.
To enjoy the flexibility and easy to setup caching for your website, sign up for RedyHost cPanel hosting plan of your choice now.